

How to Mount a Projector for a Perfect Home Theater
You've bought the projector, chosen the screen, and cleared the room. Then you hold the mount against the ceiling and realize the hard part isn't tightening screws. It's choosing a position that gives the right image size, protects the projector, leaves enough airflow, and doesn't create a cable problem you'll regret every movie night.
This practical guide to how to mount a projector starts with the room, not the bracket. You'll compare ceiling, wall, shelf, track-rail, and tension-pole options, calculate throw distance, test the image before drilling, verify the structure, and finish with precise alignment. Updated for March 2026, it also accounts for small rooms, rentals, high ceilings, lens shift, and modern no-drill setups.
Before You Drill What Mounting Really Involves
In a small living room, the obvious ceiling position may sit directly above the sofa, while the ideal image position puts the projector too close to a light fixture or too far from the screen. A shelf might avoid drilling but leave the projector within reach of children or pets. A wall mount could solve the distance problem, yet introduce a different issue if the wall is hollow or the projector's lens offset doesn't suit that height.
Mounting is therefore a room-planning decision, not a bracket installation. The position affects image size, viewing comfort, cable length, ventilation, projector noise, and the load transferred into the building structure.
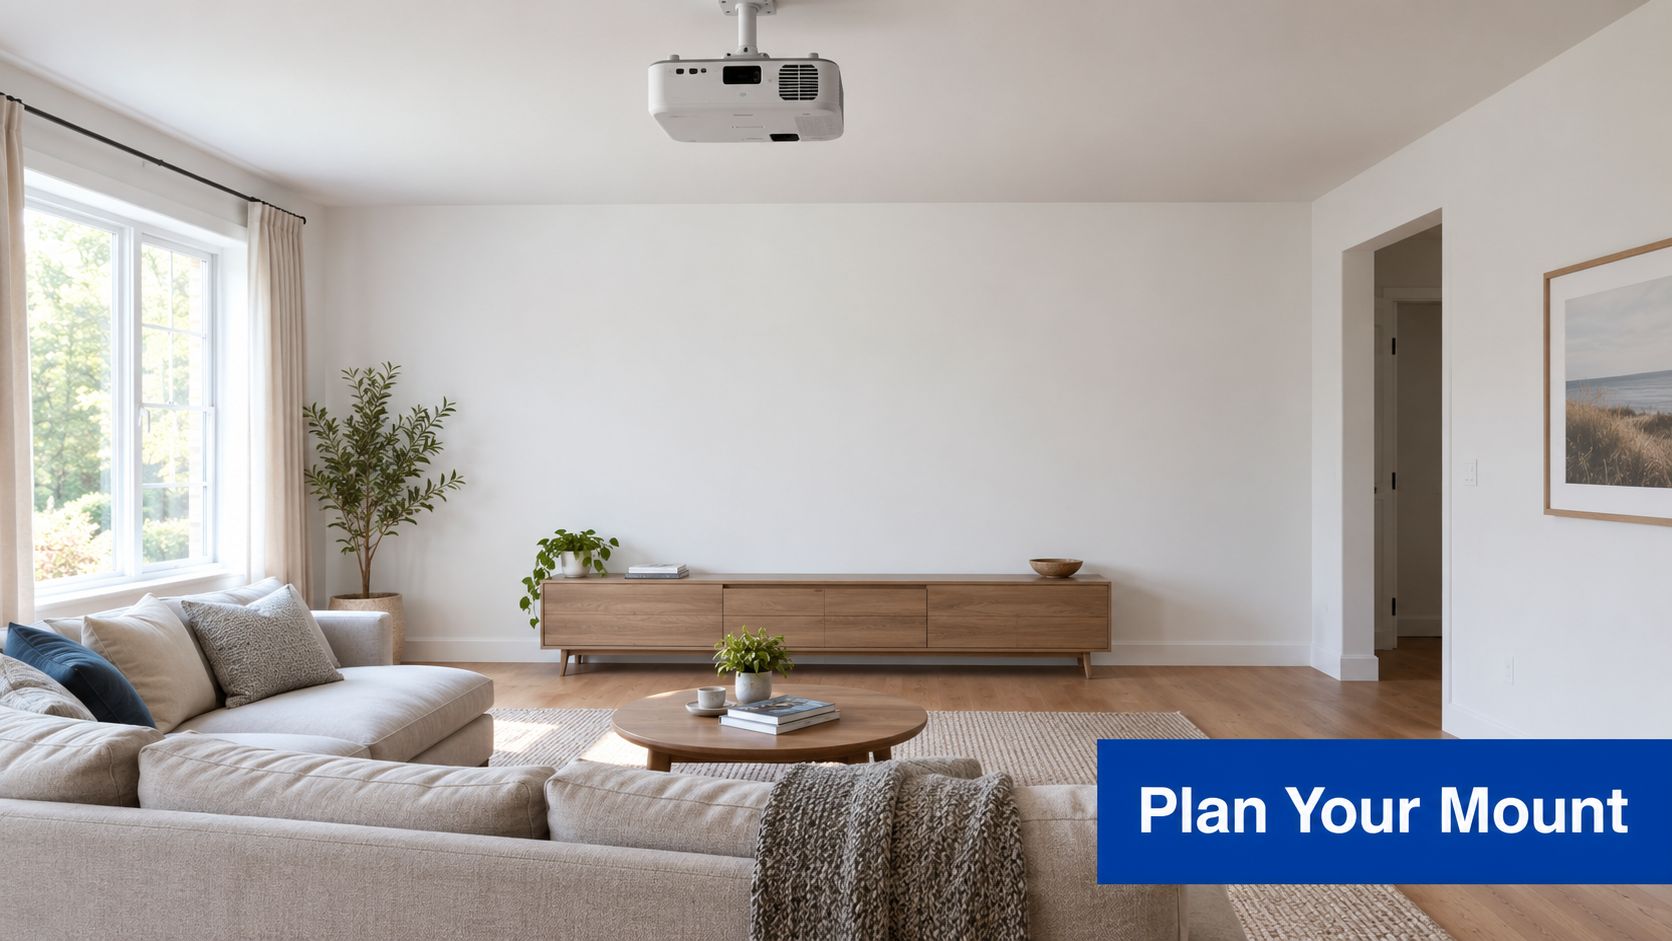
Start with the least permanent option that works
A ceiling mount suits a dedicated theater or a room where the projector needs to sit behind the seating area. It keeps the floor clear and can produce a clean installation, but it demands accurate structural checking and careful cable routing.
A wall mount works well for short-throw projectors and compact rooms. A shelf or stand is easier to reposition, which matters in a rental or multipurpose room. Track-rail systems can preserve future flexibility, while tension-pole systems provide a no-drill route where the ceiling and floor can accept compression.
A university AV standard prefers movable track-rail mounting when future repositioning matters, and places the mount about 6 inches below a clear ceiling. That's a useful reminder that a fixed ceiling bracket isn't automatically the most professional solution. The projector-versus-TV comparison can also help clarify whether your room benefits from projection at all.
Build a dry-run before you buy hardware
Put the projector on a temporary table, ladder platform, shelf, or other stable surface. Aim it at the intended screen, check the projected image, and observe whether people, doors, lights, or ceiling fans interfere.
Write down:
- Projector position: Note the lens location, not just the center of the chassis.
- Screen relationship: Confirm the lens can align with the screen's horizontal and vertical geometry.
- Cable route: Identify where power and video cables will run before the bracket blocks access.
- Service access: Leave room to reach focus, filters, connections, and adjustment points.
- Installation help: Arrange a second person for lifting and holding the projector during overhead work.
Treat the process like any other careful home project. If you enjoy planning physical upgrades, a collection of DIY projects for outdoor spaces offers useful ideas for thinking through structure, access, and clean finishing details. By the time you pick up a drill, you should know whether the ideal setup is permanent, movable, or better left on a shelf.
Choosing the Right Mount for Your Room and Projector
The right mount is the one that fits both the projector and the room's constraints. A universal bracket that accepts the projector's hole pattern can still be a poor choice if it places the lens too high, blocks an intake vent, or leaves no adjustment range.
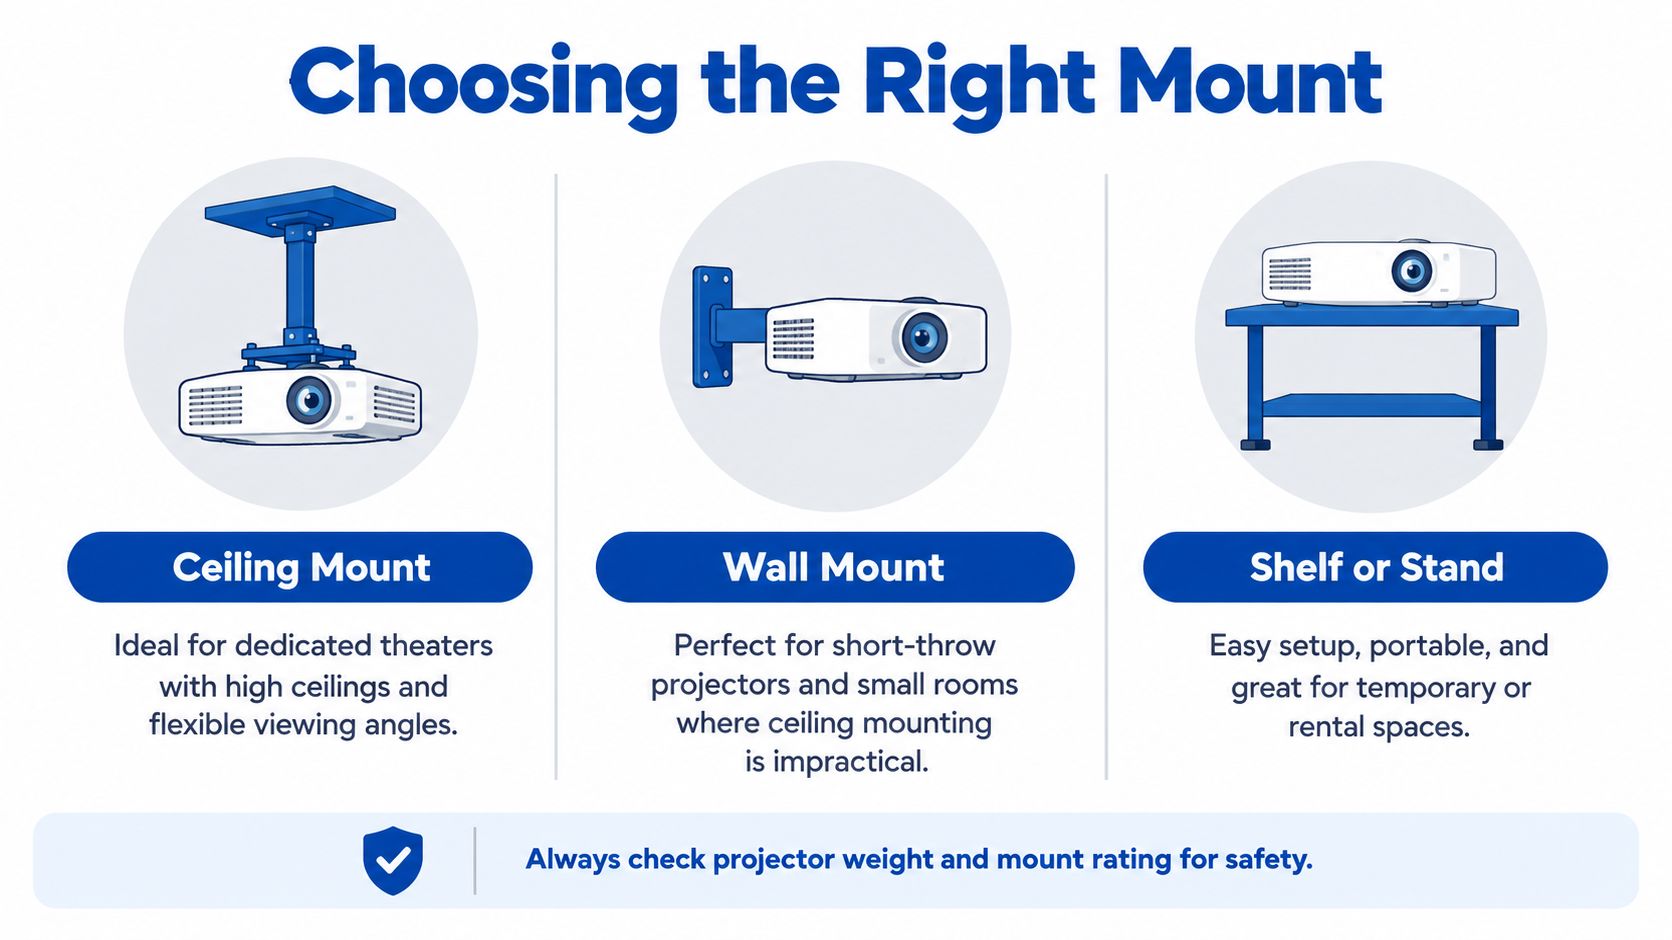
Match the mount to the room
| Mount type | Works best when | Main trade-off |
|---|---|---|
| Ceiling mount | You want a permanent theater setup and the structure is accessible | More drilling, structural work, and cable planning |
| Wall mount | The projector is short-throw or the room has limited ceiling access | Wall height and lens offset become critical |
| Shelf or stand | You rent, rearrange furniture, or want portable placement | It uses surface space and can be easier to disturb |
| Track rail | You expect to reposition the projector later | It requires a compatible rail installation |
| Tension pole | You need a no-drill solution in a suitable room | It depends on stable floor and ceiling contact |
A ceiling mount is usually the cleanest choice for a long-throw projector in a dedicated theater. A low ceiling can make it less comfortable, especially if the projector hangs into the sightline. In that case, a wall shelf or rear-wall bracket may provide the same projection geometry without placing hardware overhead.
For small rooms, a wall mount or ultra-short-throw arrangement often makes more sense than forcing a conventional projector to the back of the room. Review the ultra-short-throw laser projector guide before committing to a long cable run and ceiling bracket.
Check compatibility before ordering
Confirm the projector's weight, mounting pattern, hole spacing, lens position, and ventilation layout against the mount specification. The mount must support the projector with a meaningful safety margin, not merely meet its listed mass.
One independent buying guide describes many single-hole mounts as rated up to 5 kg, while multi-point versions typically handle 8 to 10 kg. Those figures are product-category guidance, not permission to exceed the manufacturer's rating, so check the exact model and hardware.
For a practical explanation of bracket styles, attachment points, and wall materials, use this practical wall mounting bracket guide. If drilling isn't allowed, a stable shelf, tension pole, or stand is preferable to trusting improvised adhesive support beneath valuable equipment.
Planning Placement and Nailing Throw Distance
The most expensive mounting mistake happens before the first hole is drilled. A bracket can be perfectly level and structurally secure, yet still produce the wrong image size because the projector sits at an unsuitable distance from the screen.
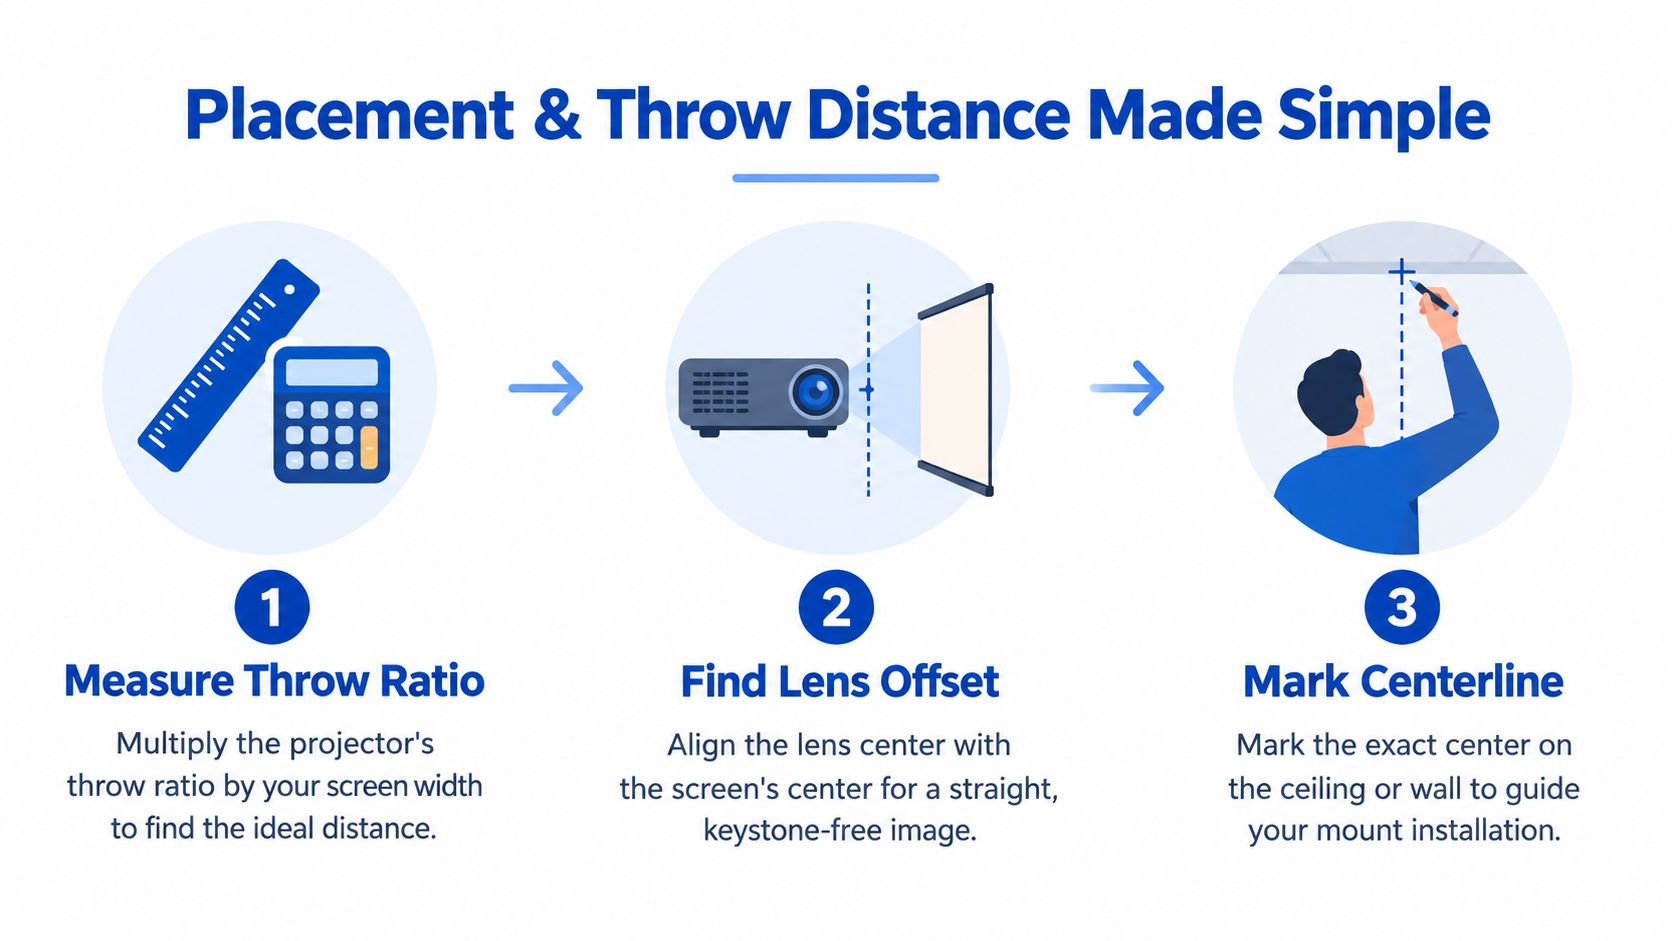
Use the manufacturer's throw ratio. The calculation is:
Throw distance = throw ratio × screen width.
For example, if a projector manual specifies a particular throw ratio, multiply that ratio by the actual width of your screen. Don't substitute diagonal screen size for width, and don't estimate from the projector's casing. The lens-to-screen distance is the measurement that matters. The projector screen sizing guide is a useful companion when you're deciding whether the planned image will fit the wall and seating arrangement.
Test the lens position, not just the projected rectangle
Place the projector temporarily at the calculated distance and set the intended image size. Align the lens center with the screen centerline where the projector design allows it. Then check the top and bottom edges, focus uniformity, and whether the projector has enough vertical lens shift for the planned height.
A Panasonic wall-mount document gives a specific example where the distance from the image center to the bracket center is 47.5 mm. That type of offset belongs in your measurement plan because the bracket center and the optical center aren't always the same point.
Physical alignment should do most of the work. Keystone correction changes the image electronically and can soften or crop the picture, while a properly positioned mount keeps the projected geometry naturally square.
Installer's rule: If the image only looks right after heavy keystone correction, the projector is probably in the wrong physical position.
Mark the drill location after the dry-run
Once the image fits, mark the projector centerline on the wall or ceiling. Then transfer the mount's actual hole pattern to that reference, accounting for the mount plate, extension column, lens offset, and projector orientation.
Check the following before drilling:
- Screen width: Confirm the projected image reaches the intended boundaries without excessive zoom.
- Centerline: Verify the projector points at the center of the screen, not merely the center of the wall.
- Offset: Read the projector manual for vertical offset and lens-shift limits.
- Sightline: Make sure the mount, projector body, and cables won't intrude into the viewing path.
- Adjustment range: Leave enough room for pitch, roll, and yaw corrections after installation.
That temporary setup may feel slower, but it prevents the common cycle of drilling, discovering the image is wrong, and relocating the bracket.
Tools Mounts and Structural Safety Checks
A projector mount carries equipment overhead or projects it from a wall, so the structure deserves more attention than the finish. Drywall, ceiling tiles, and decorative panels aren't automatically load-bearing. Locate a joist, beam, blocking, or concrete substrate before selecting anchors.
You'll typically need a tape measure, pencil, level, stud finder, drill, suitable drill bits, screwdriver or wrench, safety glasses, and the hardware specified by the mount manufacturer. A second person makes overhead positioning safer, especially when the projector is already attached to the bracket.
Use the load rule as a starting point
A foundational installer rule uses a 5:1 load factor. The ceiling structure should support at least five times the combined mass of the mount, projector, and peripherals. A system weighing 10 kg should therefore connect to a structure rated for roughly 50 kg or more. The Premier Mounts installation guide also emphasizes verifying joists, beams, or concrete before fixing a ceiling mount.
A separate projector lift guide uses a minimum support requirement of four times the combined weight of the lift and projector. One wall-mount source likewise advises that the supporting wall hold at least four times the total projector-and-bracket weight. These rules aren't interchangeable shortcuts. Follow the strictest requirement in the equipment documentation and local installation practice.
Hardware matters too. One institutional standard requires a 5x load rating for each component and specifies hardware at SAE Grade 5 or ISO 8.8 or stronger. Use the correct screw type for the substrate, and don't replace structural fasteners with convenient hardware from a mixed drawer.
Account for height and ceiling construction
High ceilings may require a suspension column to bring the projector down to a usable position. One published AV standard cites an underside-of-equipment height of about 2.4 m as a common installation target. Lift systems also publish dimensional limits, including a minimum ceiling height of 2.50 m without a ceiling-tile holder and 2.75 m with one. These are equipment-specific constraints, so verify the exact lift manual before ordering.
False ceilings need special care. One lift manual specifies a 50 cm cavity between a structural ceiling and a false ceiling, with 2.5 cm of ventilation space around the projector. Never treat a suspended tile or grid as the primary support unless the system is specifically designed and rated for that purpose.
For related planning around equipment placement and accessible wiring, see DigiDevice's security camera setup guide. The same habit applies here, identify the structure first, then choose the hardware.
Wiring Cable Management and Ventilation Done Right
A clean projector installation starts with cable routing before the mount goes up. Decide where power, HDMI, audio, and control cables will enter and exit, then choose between an in-wall route, surface raceway, ceiling plate, cord cover, or a wireless connection where appropriate.
For in-wall runs, use cables approved for that installation environment and follow local electrical requirements. Surface raceways are easier to inspect and remove, while paintable channels can blend into the ceiling and wall without opening the structure. Keep signal cables organized and avoid running them tightly alongside power wiring for long distances, especially when a separate route is practical.
Leave room for service and movement
Don't cut every cable to the exact measured length. Leave a small service loop at the projector and at the receiver or wall plate so you can adjust the mount, replace a cable, or remove the projector without rebuilding the route.
A ceiling plate can provide a neat transition from the structural mount area into the cable path. In a rental, adhesive cord covers and clips avoid permanent cuts, while a wireless HDMI system may reduce the need for long video runs. Each option trades convenience, latency, cost, and troubleshooting access differently, so choose based on how often the room changes.
The cable organizer clips collection can help keep exposed leads controlled around a shelf, stand, or temporary installation. Don't use clips to force cables against the projector's hot exhaust area.
Protect airflow around the projector
Ventilation is not cosmetic. Blocked intake or exhaust vents can raise internal temperatures and trigger warnings, shorten component life, or interrupt a film. One manual recommends at least 50 cm of free air space around the projector, while other manufacturer instructions specify a minimum 10 mm bottom clearance for some models and warn against obstructing vents. Check your projector's own manual because clearance requirements vary by design.
Keep the mount close enough to support the projector securely, but not so close that the bracket, ceiling, shelf, or cable bundle blocks airflow. If the projector sits inside a cabinet or recessed shelf, measure the openings and confirm that heat can escape rather than collecting around the chassis.
Final Alignment Troubleshooting and Finishing Touches
Once the projector is secure, let the mount do the precision work. Adjust pitch, which controls the up-and-down tilt, roll, which corrects side-to-side slant, and yaw, which controls left-to-right direction. Tighten each adjustment gradually while watching the image, because tightening one fastener can shift the frame slightly.
Epson's wall-mount guidance limits installation angle to no more than 3° horizontally or vertically relative to the projection surface. Stay within the projector and mount manufacturer's limits rather than using electronic correction to hide a mechanically poor position. Focus after the image is physically aligned, then use lens shift where available. Keystone should be a last resort.
Fix the common final problems
- Crooked image: Recheck roll and yaw, then confirm the screen itself is level.
- Uneven image size: Revisit throw distance and lens position instead of stretching the image electronically.
- Soft corners: Check that the projector is square to the screen and that focus is uniform across the frame.
- Vibration: Inspect every mount connection, structural fastener, and projector screw for movement.
- Heat warning: Switch the projector off, clear the intake and exhaust, and compare the installation against the specified ventilation clearance.
- Upside-down picture: Select the ceiling or inverted installation mode in the projector menu.
Before the first full movie, run a final inspection. Confirm the mount lock, fasteners, safety wire if supplied, cable strain relief, ventilation path, focus, screen boundaries, and remote-control access. Touch-up paint on a surface raceway can make the installation look intentional, but don't paint over ventilation openings or adjustment hardware.
A well-mounted projector should disappear into the room while remaining accessible for maintenance. If your room changes often, keep the mount adjustable or choose a movable solution rather than fixing a position you'll soon outgrow.
DigiDevice offers compact projectors and home entertainment accessories for setups where flexible placement matters, including options suited to shelf-based or small-room theaters. Visit DigiDevice to check the available projector products and accessories, then choose your mounting approach only after confirming throw distance, ventilation, and structural support.