

How to Improve Video Quality for Creators
You've shot a clean, sharp clip on your phone, checked it in the viewfinder, and uploaded it with confidence. Then the published version looks soft, blocky, or strangely smeared, especially whenever the camera moves. The fix usually isn't “buy a better camera.” It's finding the bottleneck between capture, lighting, encoding, transfer, and platform compression.
Direct answer: To improve video quality, match bitrate to resolution and frame rate, control light and motion before recording, then export and upload without creating another compression bottleneck. Test the finished file on the platform where it'll be watched, because a high-resolution master can still become poor-looking video after transcoding.
Mastering Capture Settings and Bitrate Math
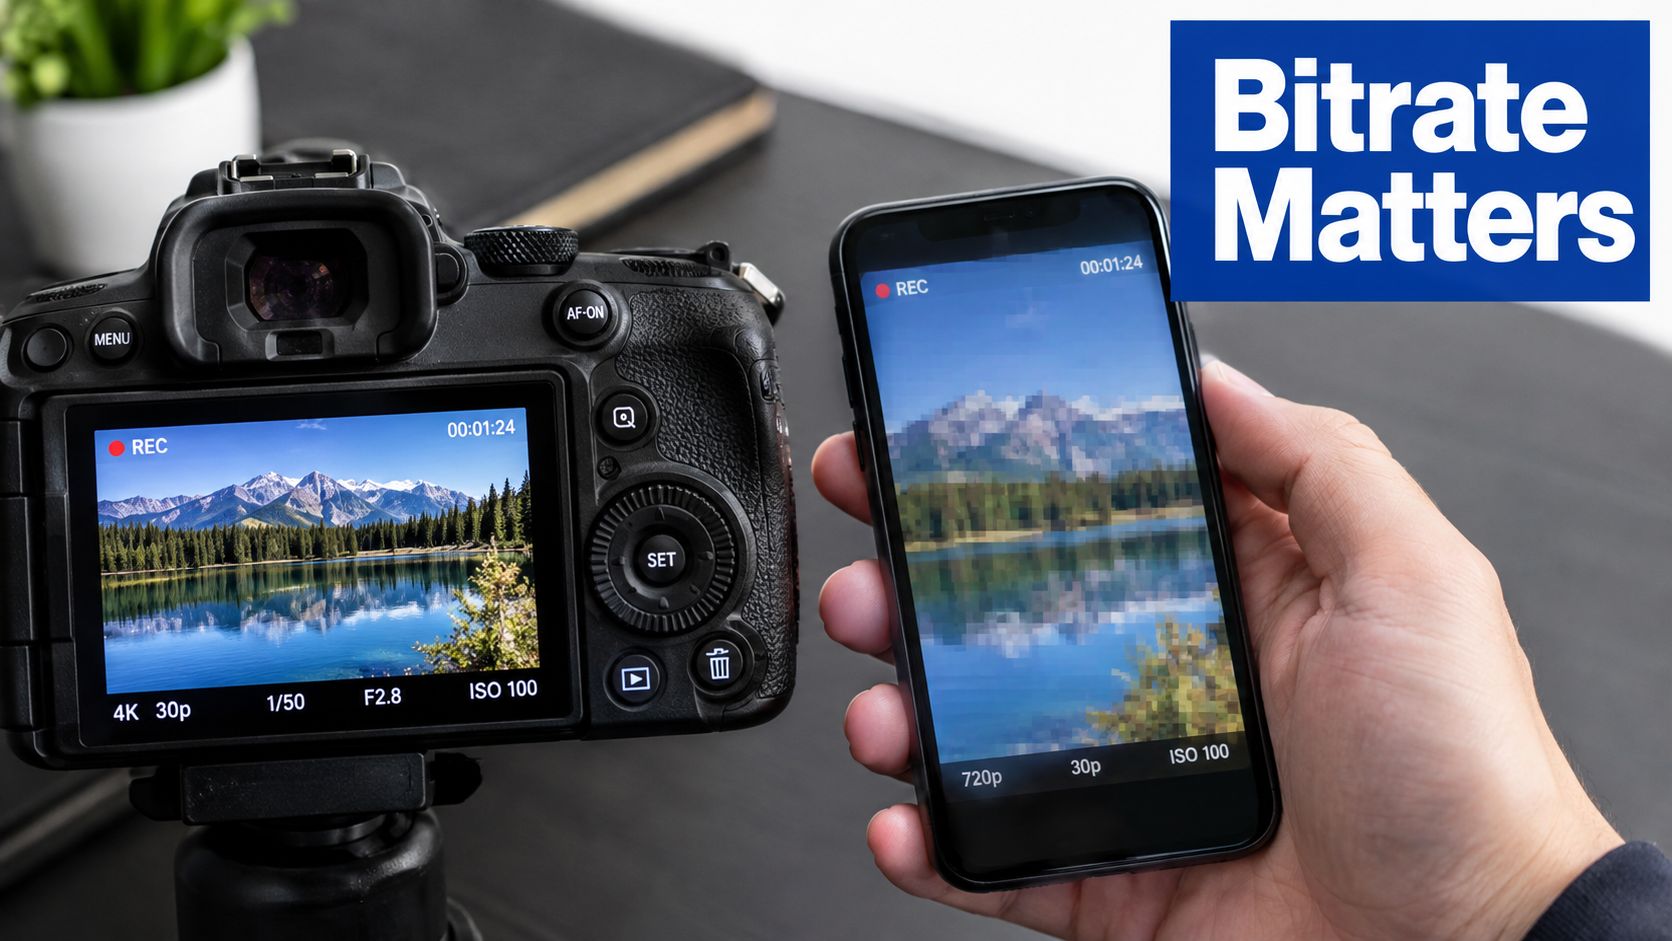
A phone can record a sharp coastline at the camera's native settings, yet the published file may look blocky and soft. The platform's encoder may be the core bottleneck, especially after high-frame-rate footage is squeezed into a limited upload or delivery bitrate. Treat capture, encoding, transfer, and playback as one system rather than adjusting isolated switches.
Resolution is only part of the picture
Bitrate is the amount of data assigned to each second of video. Resolution sets how many pixels the encoder must preserve, while frame rate sets how many frames it must process each second. Bitrate is the available budget for retaining both types of information.
Industry guidance places 720p video at about 6.5 Mbps for 24–30 fps and 9.5 Mbps for 48–60 fps, while 4K commonly needs roughly 44–56 Mbps at lower frame rates and 65–85 Mbps at higher frame rates. The SVFI bitrate and frame-rate guidance illustrates the trade-off clearly: more detail and more motion require more data.
Online delivery can use lower practical ranges, depending on the codec, source complexity, and platform. 1080p around 3–6 Mbps at 30 fps and 6–12 Mbps at 60 fps is common, while 4K often falls around 15–25 Mbps at 30 fps and 25–51 Mbps at 60 fps, according to Castr's bitrate explanation. These figures are working ranges, not universal presets. A detailed scene with foliage, water, grain, or rapid camera movement needs more headroom than a static presenter against a plain background.
A practical capture checklist
For a talking-head video with limited movement, 1080p at 30 fps can produce a clean, efficient file. Walking shots, sports, gaming footage, and quick handheld pans benefit from 60 fps, but only when the camera, export, connection, and platform can carry the extra frames without starving each one of data.
Use this order of decisions:
- Choose the delivery resolution. Avoid recording 4K by default if storage, editing performance, or upload speed is already restricted.
- Choose frame rate for motion. Set a higher frame rate when the subject or camera movement requires smoother motion.
- Allocate bitrate after both choices. Extra pixels without enough data create mushy detail. Extra frames without bitrate headroom make motion break apart.
- Lock exposure and white balance. Automatic shifts can make a sharp clip unstable and harder to grade.
- Protect the lens and control reflections. Clean glass and a suitable ND filter often improve consistency more than aggressive sharpening. Read this guide to what a neutral density filter does before shooting outdoors.
If your connection or delivery limit forces a smaller file, use a tool to reduce video file size deliberately. Inspect the compressed result on the target platform, and avoid repeated export cycles that remove detail at every stage.
For mobile creators, a stable phone mount, reliable power, and a dependable connection protect the workflow around the camera. DigiDevice mobile accessories can also provide a place to compare compatible support and power options for a creator setup.
Practical rule: Higher resolution helps only when the bitrate preserves the additional pixels.
Balancing Frame Rate and Compression Artifacts
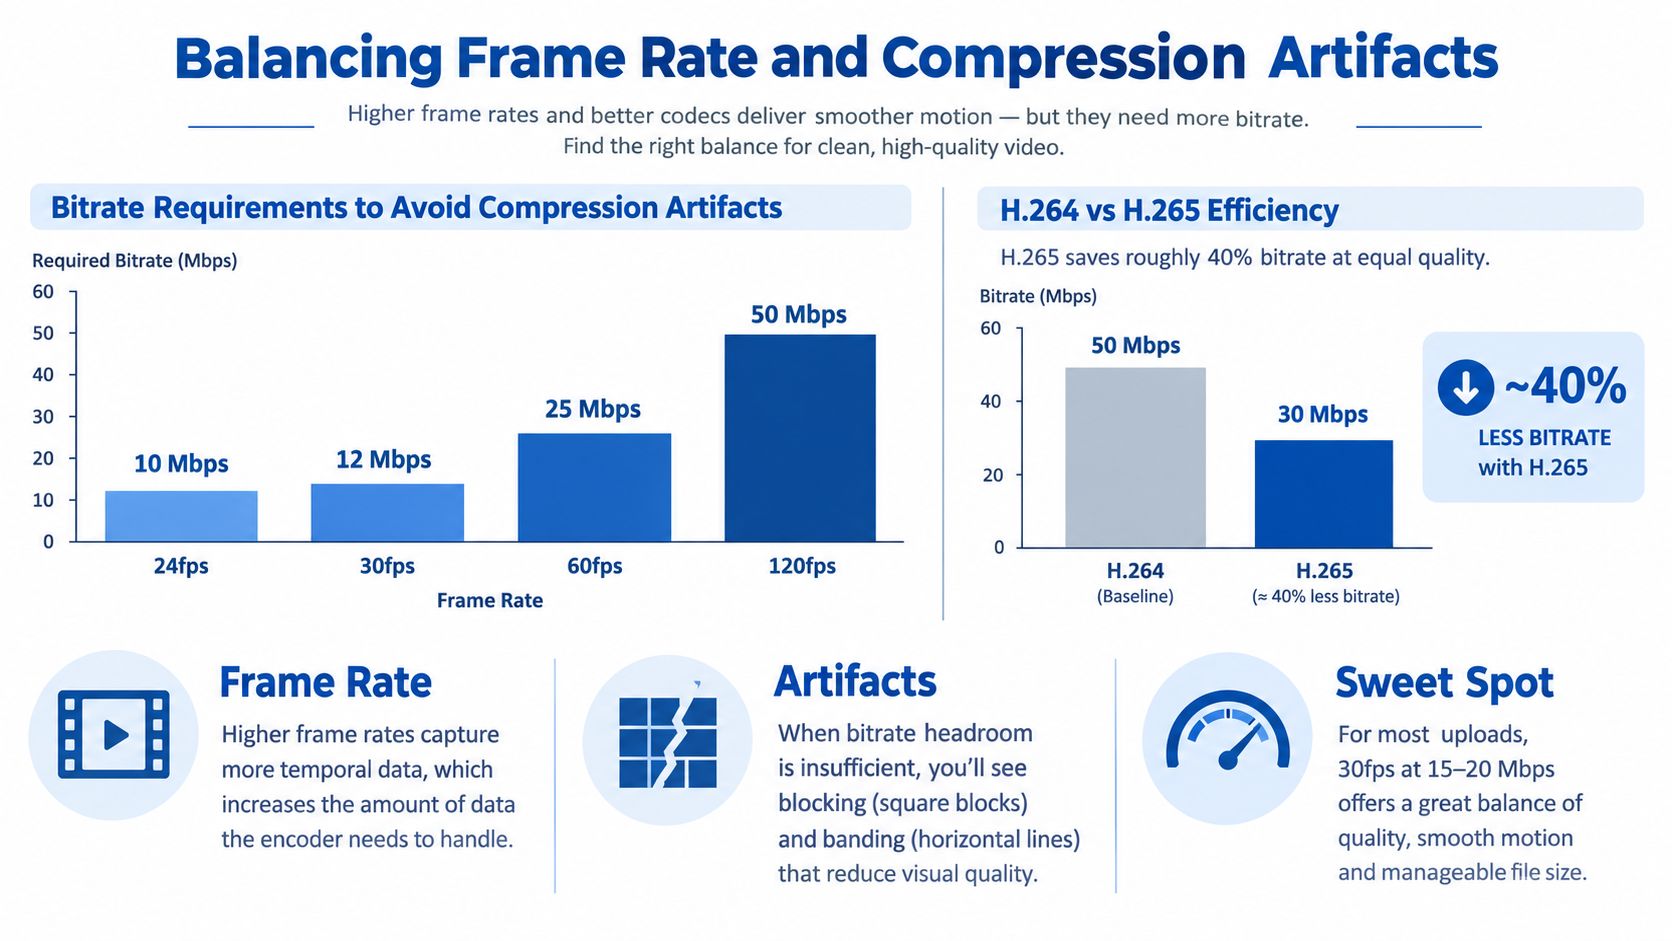
A 60 fps or 120 fps recording can look worse than a 30 fps clip after upload. The usual bottleneck is the bitrate assigned to a faster timeline. Moving from 30 fps to 60 fps gives the encoder twice as many frames to process each second. If the data budget stays similar, each frame receives less information and fine detail becomes easier to discard.
The problem appears first in motion-heavy footage. Sports, gaming, handheld vlogs, wind-blown foliage, and rapid edits can reveal blockiness, smearing, and broken motion while a static talking head still appears clean. Platform transcoding can intensify those defects, so judge the delivered file, not only the camera original.
Why smooth motion can reduce detail
Technical guidance commonly places 1080p at 30 fps around 4.5–6 Mbps, with 60 fps rising to roughly 6–9 Mbps or 6–12 Mbps, depending on the codec and source complexity. For 4K, recommendations often move from 15–25 Mbps at 30 fps to about 25–51 Mbps at 60 fps, as described in Castr's frame-rate and bitrate guidance.
Subjective testing in this research on frame rate and perceived quality adds a useful constraint. At about 5 Mbps, 120 fps content looked noticeably worse. At around 12 Mbps, 60 and 120 fps converged, while 120 fps became preferable only at higher bitrates such as 15 Mbps. Higher frame rate therefore improves motion only when the encoding budget can preserve it.
Test the complete upload path
Shoot a short test with a pan, a walking subject, fine texture, and a dark area. Export at the intended frame rate and bitrate, upload it privately or as an unlisted test, then compare the platform version with the local export.
A poor upload with a clean local file points to transcoding or the upload ladder. If both versions look weak, fix capture or export settings first. From a remote location, connection limits may matter more than a camera upgrade, so review a guide to choosing the right cellular frequency before diagnosing the camera.
Instructional footage often benefits more from legible detail than maximum frame rate. Use this reference on choosing fps for tutorial videos to match fps to the subject and workflow rather than selecting the highest available setting.
Lighting, Stabilization, and Audio Fundamentals
A technically correct file can still look amateurish when the subject is under-lit, the camera shakes, or the audio clips. In mobile testing, lighting often produces a larger visible improvement than switching between nearby resolution settings. The sensor has less clean information to work with in darkness, so compression has fewer useful details to preserve.
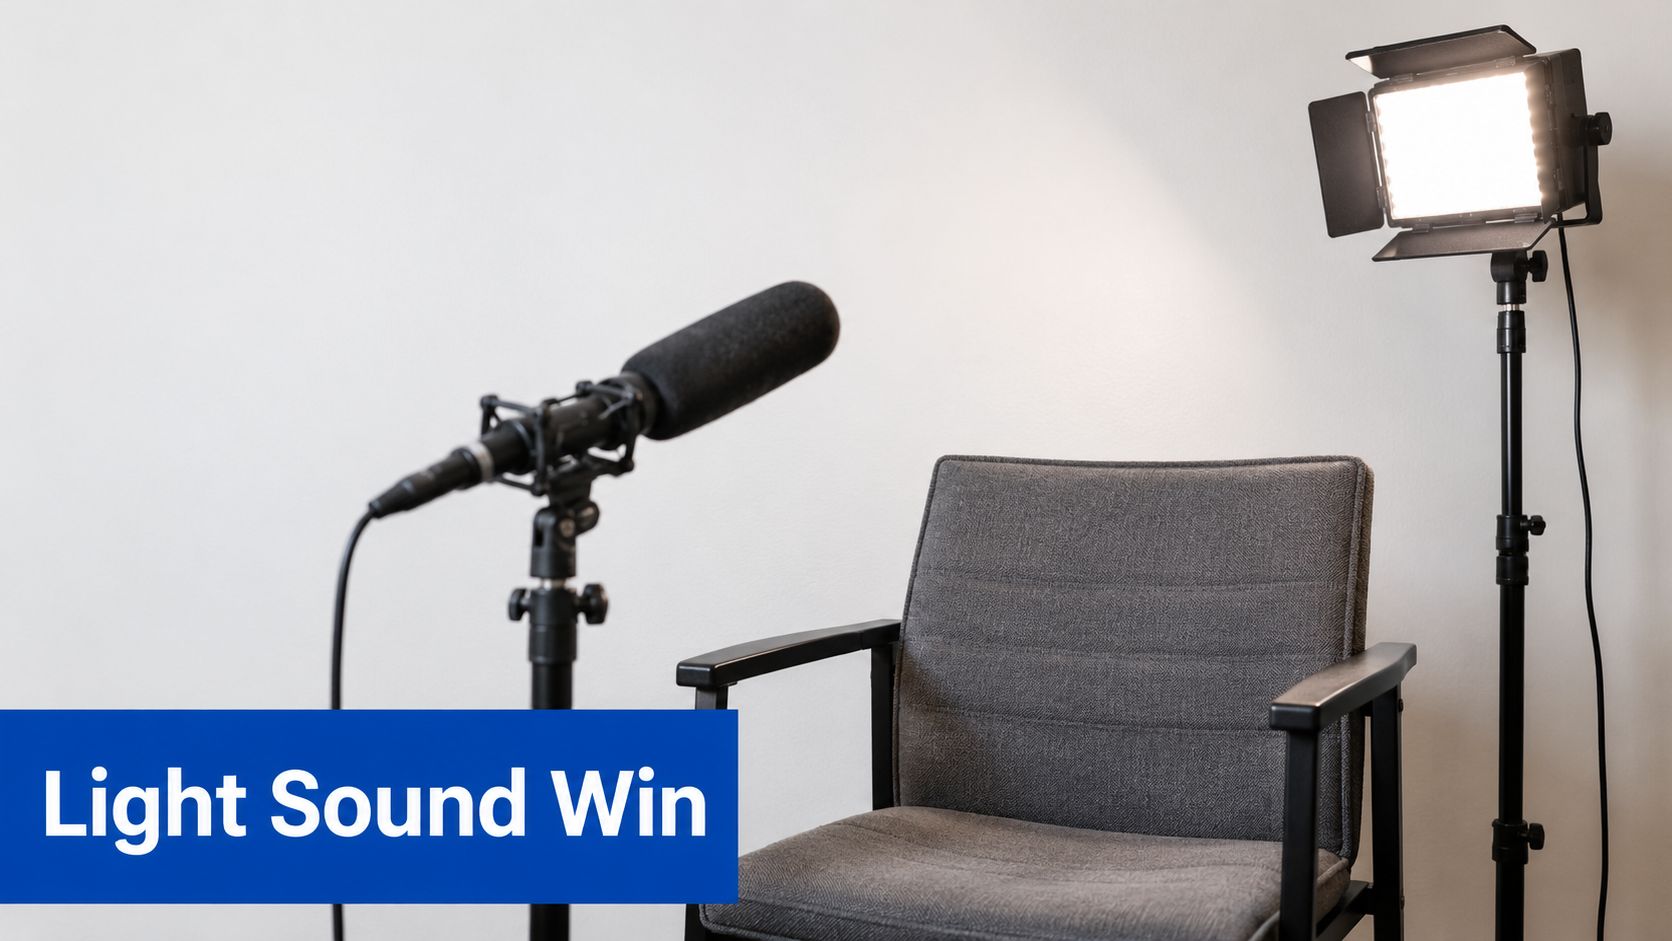
Light placement matters. A small ring light close to the face can create hard reflections and unflattering shadows. A larger diffused source placed to the side or slightly above the subject creates a more gradual transition across the face and gives the camera cleaner tonal information.
Build the shot around the environment
In a compact room, move the subject away from a bright window rather than placing the window directly behind them. If the background is brighter than the face, the phone may expose for the window and leave the speaker muddy. Lock exposure after positioning the subject, then make small adjustments instead of letting the camera hunt during the take.
For stabilization, use the simplest solution that matches the movement:
- Static delivery: A rigid stand removes unnecessary micro-shake and keeps framing consistent.
- Walking footage: Hold the phone with both hands, keep your elbows close, and shorten your steps.
- Fast movement: A gimbal can smooth larger motion, but it adds setup time, battery demands, and another device to balance.
- Desk recording: A stable mount prevents vibrations from keyboard taps and cable movement. This phone stand guide for video recording is relevant when the camera needs to stay fixed.
Audio deserves equal priority. Viewers may tolerate moderate softness in an image, but inconsistent volume, room echo, or clipped speech makes information difficult to follow. Monitor with headphones when possible, keep the microphone close to the speaker, and record a short test before the full take.
A portable power bank is useful when the phone, light, and wireless microphone all compete for battery during a long session. For monitoring, consider true wireless earbuds and audio accessories that let you check hiss, dropouts, and room noise before the footage reaches the edit.
Clean audio and controlled light often make a phone video feel more polished before any sharpening or AI enhancement is applied.
Export Workflows and AI Upscaling Techniques
Post-upload quality loss is where many otherwise careful workflows fail. A creator may record a strong source, edit it correctly, and then export a heavily compressed file that the platform compresses again. The result can show softened text, broken gradients, and muddy movement even when the original footage looked excellent.
Use a controlled export sequence
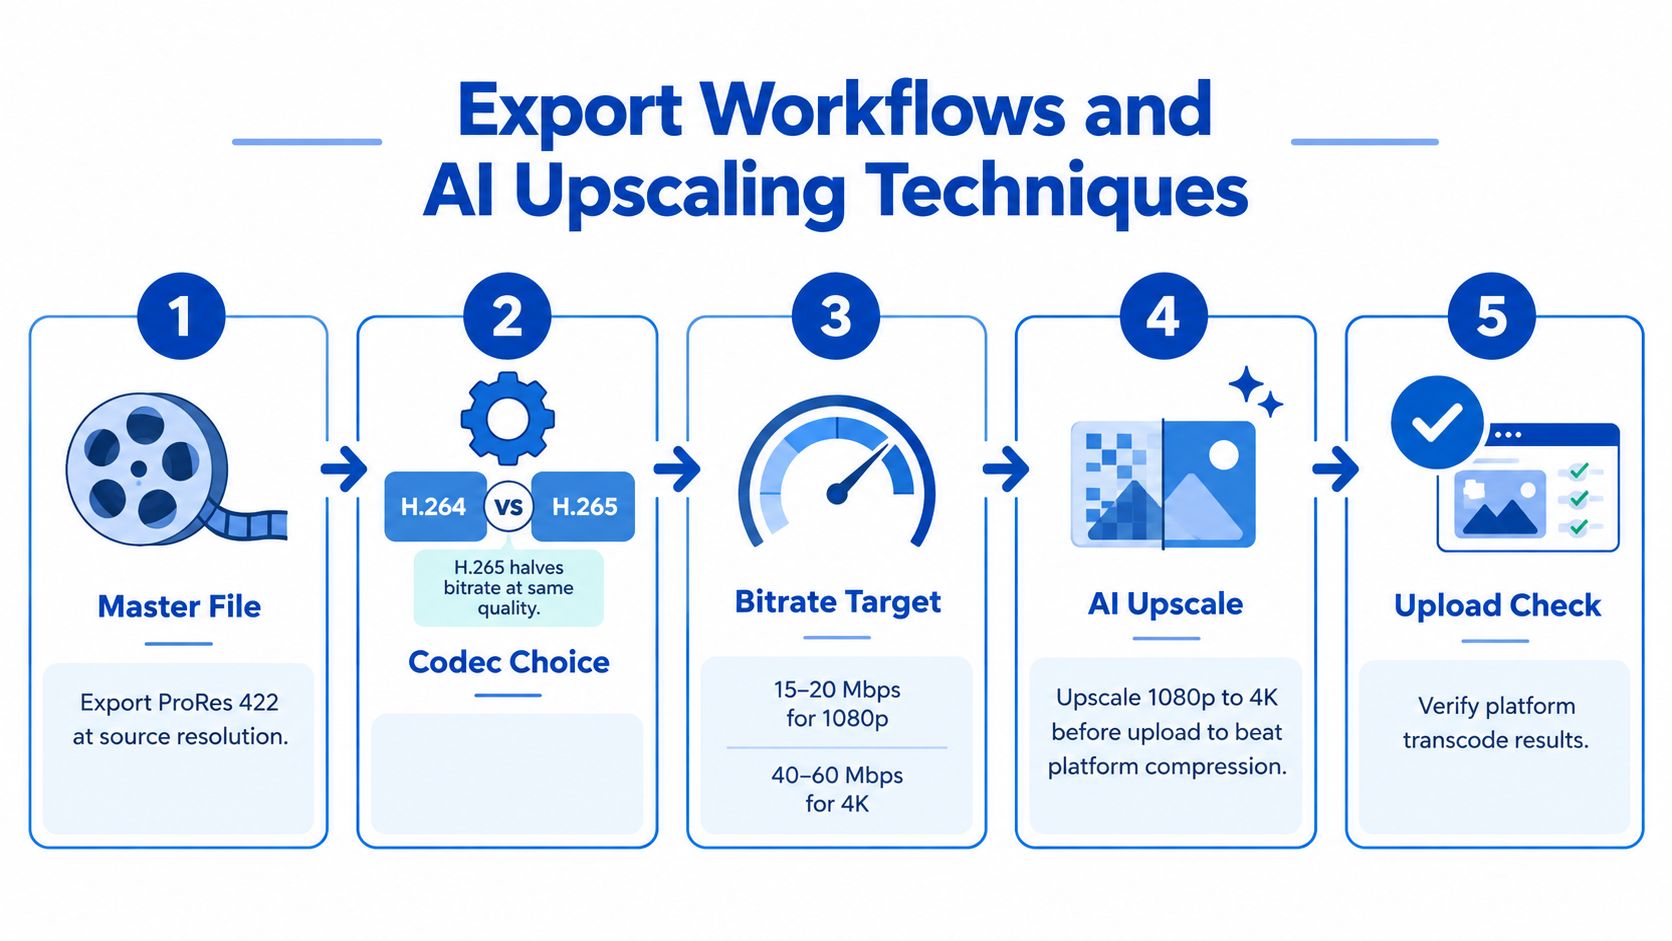
- Keep a high-quality master. Export a master at the source resolution before making platform-specific versions. A mezzanine file gives you a safer reference than repeatedly editing an already compressed upload.
- Choose a codec deliberately. H.264 is broadly compatible. H.265 can reduce the data required for similar visual quality in supported workflows, but compatibility and platform handling still matter.
- Set bitrate for the finished resolution and motion. Use the ranges established earlier rather than copying a preset designed for a different frame rate.
- Create platform versions from the master. Don't send the same aggressively compressed file to YouTube, TikTok, and Instagram and assume they'll treat it identically.
- Review the transcode. Watch the uploaded version on a phone and a larger display. Check faces, fine text, dark gradients, and motion.
Upscale only when the source can benefit
AI upscaling can rescue footage that's slightly undersized or needs better platform treatment, but it can't recover detail that was never captured. Start with denoising at a restrained setting, then upscale a short sample and inspect skin texture, hair, text, and moving edges.
Over-processing creates a plastic look. Sharpening halos around faces and artificial texture in foliage are signs that the enhancement has become more visible than the original problem. Compare the enhanced clip with the source at normal playback size, not only zoomed into a preview window.
For long edits, proxies and AI rendering can create heavy storage traffic. An external SSD with consistent read and write performance can keep media, cache files, and export versions organized. See DigiDevice storage and mobile workflow accessories if you're assembling a compact editing setup.
Export consistency also depends on transfer. Moving a finished file through a messaging app may trigger an automatic resize or recompression before the platform ever receives it. Upload the original export directly whenever possible, and keep a clearly named master separate from delivery copies.
Troubleshooting Common Quality Bottlenecks
Start with the symptom, not the gear list. If the image is soft everywhere, a higher frame rate probably won't help. If detail collapses only during movement, inspect bitrate, codec settings, shutter behavior, and the platform transcode before replacing the phone.
Video Quality Bottleneck Decision Matrix
| Visual Symptom | Root Cause | Immediate Fix |
|---|---|---|
| Blocky squares in motion | Bitrate is too low for the resolution, frame rate, or scene complexity | Lower frame rate, raise bitrate, or simplify the shot |
| Motion looks smeared | The encoder is starved, or shutter and movement don't suit the scene | Test a higher bitrate and reduce fast camera movement |
| Face looks muddy in darkness | Insufficient light leaves the sensor with weak image information | Add a larger diffused light and expose consistently |
| Bright areas pulse | Automatic exposure or white balance is shifting | Lock exposure and white balance before recording |
| Horizontal shake appears while walking | Rolling-shutter distortion or unstable hand movement | Shorten steps, stabilize the phone, and avoid rapid pans |
| Color gradients break into bands | Limited tonal information or aggressive compression | Improve lighting, preserve a higher-quality master, and reduce destructive re-encoding |
Measure when your eyes disagree
A metrics-based QC workflow can separate a codec regression from a display preference. Production pipelines often use PSNR, SSIM or MS-SSIM, and VMAF together, because each metric catches different failure modes. This explanation of PSNR, SSIM, and VMAF notes that PSNR is useful for quick regression checks, while SSIM tracks perceived structure more closely.
SSIM is scored from 0 to 1, with expert guidance describing 0.97–0.99 as high quality, 0.93–0.97 as acceptable, and below 0.85 as significant degradation in the same video quality metrics guide. Don't treat any one score as a verdict. PSNR can miss where an error occurs, and SSIM can overlook some color or temporal issues.
For creators diagnosing equipment rather than encoding, a mobile phone mainboard diagnostic instrument may help identify hardware faults. For spatial video review, you can also explore the full range of AR glasses, especially when checking framing and immersive presentation across displays.
Creators working on audience growth can pair technical QC with YouTube growth strategies with AI, but the priority remains the same: fix the visible bottleneck before adding another optimization layer. A budget vlogging kit guide for TikTok and Reels can help when the limitation is support, lighting, or audio rather than the camera sensor.
Frequently Asked Questions About Video Quality
Why does a video lose quality when I send it through a messaging app?
Messaging apps often optimize files for faster transfer by resizing or recompressing them. That creates a new, lower-quality source before you upload it elsewhere. Send the original file as a document or file when the app supports that option, or transfer it through cloud storage, a cable, or direct device sharing.
Keep the master export untouched. Make a separate copy for messaging, and don't use that copy as the source for another edit or upload.
Does 5G signal strength affect live-streaming quality?
Yes, connection stability affects the bitrate your stream can sustain. A weak or fluctuating 5G connection can force the streaming service to lower quality, create buffering, or drop frames, even when the phone camera is capable of clean footage.
Test from the exact location where you'll stream, reduce unnecessary motion when the connection is constrained, and use a stable upload path when available. A signal booster can improve coverage in some environments, but it can't replace a suitable carrier connection or solve encoder settings that are already too aggressive.
Is LOG worth using for mobile creators?
LOG can be useful when you plan to grade exposure and color carefully, especially in scenes with difficult contrast. It also adds work, demands a consistent monitoring process, and can look flat or noisy when handled incorrectly.
For quick social publishing, a well-exposed standard profile is often the more reliable choice. Use LOG when the scene and post-production justify it, then test the full workflow from recording through export and platform playback.
DigiDevice offers creator-focused mobile accessories, audio products, power solutions, AR glasses, and tools that can support a more reliable video workflow. Review the available gear and visit DigiDevice to check prices on vlogging and mobile power products before your next shoot.