

Gaming Desk with Cable Management: The 2026 Setup Guide
You're halfway through a ranked match when you raise the desk. A monitor cable catches on the frame, the USB hub flickers, and the power brick drops against the stand. The desk still looks fine from the chair, but the setup is already working against you.
A gaming desk with cable management should do more than hide wires. It should protect ports, preserve airflow, tolerate movement, and make it easy to replace a monitor, keyboard, hub, or capture card without dismantling the entire battlestation. Updated for March 2026, this guide treats cable routing as part of the desk's engineering, not a last-minute cleanup job.
Why Cable Management Is the Real Engineering Problem in Modern Gaming Desks
Late at night, a player nudges a monitor backward and hears a sharp snag. The USB hub disconnects for a moment. Under the desktop, a power brick has slipped against the frame, and the cable bundle is tight because the desk is now higher than it was during installation.
That scene is common because modern setups carry far more equipment than an older plug-and-play desk. A single battlestation may combine a gaming PC, multiple monitors, a mechanical keyboard, an audio interface, streaming hardware, USB hubs, lighting, RGB controllers, and a console. Each device adds another power or data route.
A sit-stand frame changes the problem completely. The cables must tolerate vertical travel, shifting angles, gravity, friction, and repeated bending. A bundle that looks perfect at seated height may become a snag point when the desk rises. Contemporary cable-management guidance recommends measuring routes, adding 10–20% slack, securing bundles every 18–24 inches, and testing the desk at its lowest and highest positions. Those practices are outlined in Eureka Ergonomic's movement-aware cable management guide.
Practical rule: If the desk moves, the cables need a movement plan.
Where tidy routing protects hardware
A tangled rear bundle can block airflow around a PC's rear exhaust area or press power bricks against surfaces that should remain clear. It can also pull sideways on DisplayPort, HDMI, USB, and Ethernet connectors. Repeated tension doesn't always cause an immediate failure. More often, the first warning is an intermittent display drop, a hub that resets, or audio that cuts out when the desk moves.
That's why I treat routing as maintenance infrastructure. A tray carries the mass of power strips and adapters. Clips control individual paths. Sleeves manage flexible vertical runs. Grommets remove sharp edge transitions where cables would otherwise hang over the back of the desktop.
The gaming desk setup ideas from DigiDevice are useful when planning the wider layout, especially if monitor arms, a console zone, or streaming equipment will share the same desk.
Why the visible result can be misleading
A desk can look clean while hiding a dangerous cable path. A thick bundle may be compressed behind a rear panel, tied so tightly that it can't flex, or routed directly beside sensitive audio and USB lines. Conversely, a setup can have a few visible cables and still be electrically and mechanically sound.
The best buying decision isn't “Which desk hides the most wires?” It's “Which desk gives every important cable a safe route, enough slack, and a serviceable exit?”
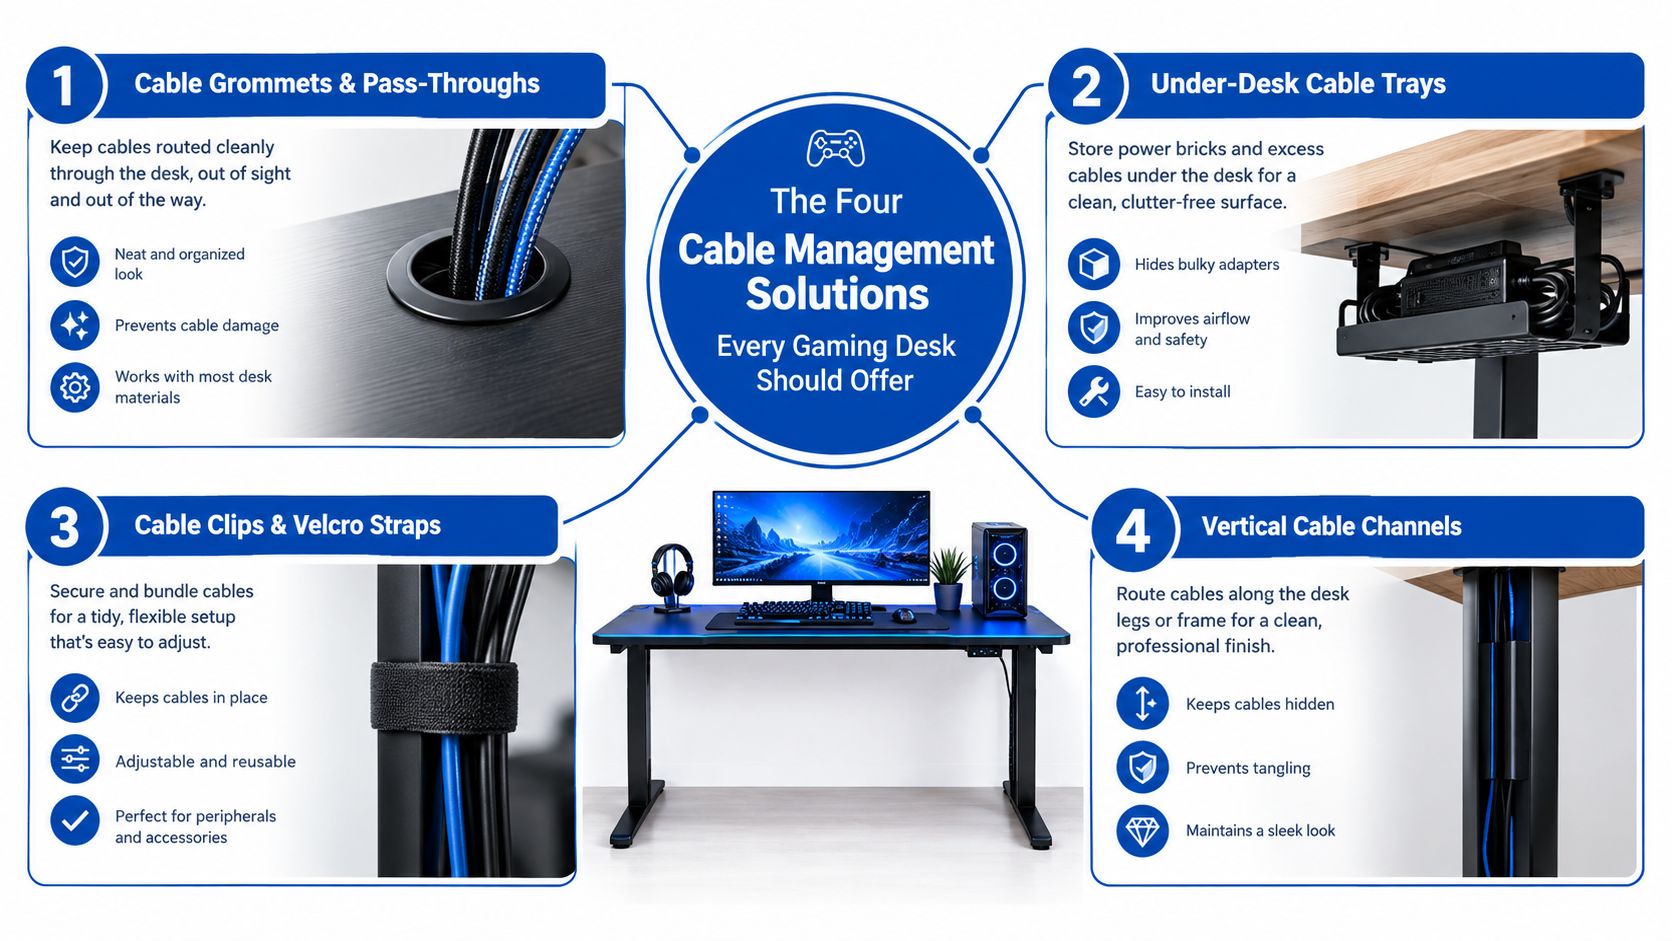
The Four Cable Management Solutions Every Gaming Desk Should Offer
A cable-ready desk needs four different systems because each one solves a different failure mode. A tray handles weight, a grommet removes a pinch point, clips control direction, and a sleeve manages movement.
Start with the tray
An under-desk tray should hold the power strip, bulky adapters, and the heaviest part of the cable bundle. Screw-on baskets are stable, while clamp-on trays are easier to reposition or remove. Look for a rear lip that prevents the power strip from sliding sideways as the desk changes height.
Mount the tray before routing display cables. That way, the heaviest components have a fixed home instead of hanging from wall outlets or resting on the floor.
Use grommets as controlled exits
Surface grommets let monitor power, DisplayPort, HDMI, USB, and Ethernet cables drop through the desktop without draping over the rear edge. Placement matters more than quantity. A grommet near each rear corner usually creates better routes than several holes clustered in the middle.
Slotted grommets are especially useful when a cable already has a connector attached. Round openings are neat, but they can be awkward when you need to pass a thick connector through during a hardware swap.
Clip individual runs before bundling
Adhesive or magnetic clips keep cables aligned along the underside and frame. Use them to guide each cable toward the tray, not to crush every lead into one rigid loom.
Route mains power first. Keep USB, DisplayPort, Ethernet, and other data cables on a separate path where possible. This makes troubleshooting easier and helps keep electrical interference predictable, particularly around audio interfaces and USB 3.0 devices.
For a broader perspective on safe routing practices, Forward Electrical's compliant installation guidance provides useful context beyond gaming furniture.
Sleeve the vertical movement
Neoprene sleeves, woven sleeves, and cable-spine tubing turn several loose vertical cables into one controlled, flexible run. The sleeve should bend naturally as the lifting column moves. It shouldn't be pulled tight against the frame or pinned between telescoping sections.
Leave a slack loop sized for the desk's full travel range, not just the seated position. The complete workflow is straightforward:
- Mount the power strip: Put it inside the tray or on a secure underside rail.
- Route mains power: Keep kettle-style power leads on one side.
- Separate data paths: Send USB, display, and Ethernet cables down the other side.
- Secure the frame run: Use clips for direction and a sleeve for vertical flex.
- Test movement: Raise and lower the desk before tightening the final straps.
The PC gaming cable management ideas from DigiDevice are a natural companion when you're arranging the PC, peripherals, and display paths together.
Matching Desk Type to Your Cable Density and Layout
Desk shape affects cable reliability as much as surface area. A straight desk may offer a clean rear run, while an L-shaped desk can separate device zones but introduce a difficult corner transition.
| Desk Archetype | Routing Channels | Sit-Stand Friendly | Cable Density Limit | Weak Point |
|---|---|---|---|---|
| Straight rectangular | Usually one continuous rear route | Moderate, if the frame has a vertical channel | Good for one main PC and monitor zone | All cables converge at one exit |
| L-shaped | Two independent wing routes | Good when each wing has a controlled drop | Strong for separated gaming and streaming zones | Corner joint can hide a snag |
| Sit-stand frame | Vertical routes through lifting columns or clips | Best when channels flex with the frame | Depends on column design and stroke | Tight runs fail during height changes |
| Compact desk | Limited underside and rear space | Variable | Lower, unless trays and clips are added | Little room for bulky adapters |
| Shelf-integrated or side-rack | Central rear column | Moderate | Good for a fixed device layout | Failure points concentrate in one column |
Straight desks suit simple, stable layouts
A straight rectangular desk with a rear modesty panel gives cables one broad trunking route. That works well for a single PC, one or more monitors, and standard peripherals. The drawback is concentration. Every lead wants to leave through the same point, so the exit can become crowded and difficult to flex during sit-stand movement.
L-shaped desks separate zones
An L-shaped desk gives you two natural channels. I like placing the gaming PC and main monitors on one wing, then using the other for a laptop, audio interface, camera, or capture hardware. That physical separation makes upgrades easier, but the corner needs careful inspection. A cable that appears hidden can still rub against the joint every time you shift equipment.
Compact desks need modular help
Small-footprint desks preserve floor space, but they have less room for trays, power bricks, and extra cable loops. Clamps, risers, magnetic clips, and full-width underside trays become more important than decorative cut-outs.
Side-rack desks simplify the visual route by concentrating cables near one rear column. They're clean when the layout stays fixed, but a single overloaded column can become the hardest place to service.
Specs That Actually Matter When Buying a Cable-Ready Desk
A desk can advertise cable management and still give you nowhere useful to put a power strip. Start with the physical space behind and beneath the desktop, then inspect how the desk expects cables to move.
| Spec | Minimum | Recommended | Why It Matters |
|---|---|---|---|
| Frame depth | 70 cm | More than 70 cm when using deep monitors or arms | Shallow surfaces push screens and cables toward the rear edge |
| Rear channel clearance | 25 mm | 40 mm | Determines whether trays, bricks, and connectors fit without crushing |
| Grommet layout | Rear access | Rear-corner access | Creates cleaner independent routes |
| Weight capacity | Live load plus 20% | More reserve for arms and peripherals | Protects stability as equipment changes |
| Tray design | Removable | Removable and repositionable | Makes future cable swaps practical |
| Add-on support | Clip or clamp compatibility | Raceways, magnetic clips, and power rails | Extends the desk without permanent modifications |
Depth and clearance come first
A frame depth under 70 cm can force monitors close to the wall and leave cables draped across the rear edge. Rear channel clearance between 25 and 40 mm determines whether a tray or power brick can sit behind a panel without pressing against connectors.
Measure the actual opening, not just the advertised desk depth. A wide desktop doesn't help if the modesty panel leaves only a narrow slot for the cable bundle.
Grommet position beats grommet count
Two rear-corner grommets can outperform six centrally placed holes because they support separate left and right routes. This matters when one side carries monitor and peripheral data while the other carries mains power.
A grommet should also be positioned where a cable can drop naturally. If the lead has to bend sharply to reach it, the cut-out is solving appearance rather than strain.
Buy for the setup you'll maintain
Treat the desk's weight rating as a living-load question. The rating should sit 20% above the live equipment load, according to the supplied buying guidance, because monitor arms and later peripherals add pressure to the frame.
A removable tray is also more valuable than a permanently riveted one. Cable sets change, and the supplied guidance notes that equipment commonly gets replaced every 18 months. A fixed tray turns a simple swap into a wrestling match.
Modular add-ons can make a mid-tier desk more useful. Clamp-on raceways, magnetic clips, under-desk power rails, and reusable Velcro straps add control without drilling into the desktop. For compact charging zones, compare the best GaN charger options from DigiDevice, especially when several mobile devices share the desk.
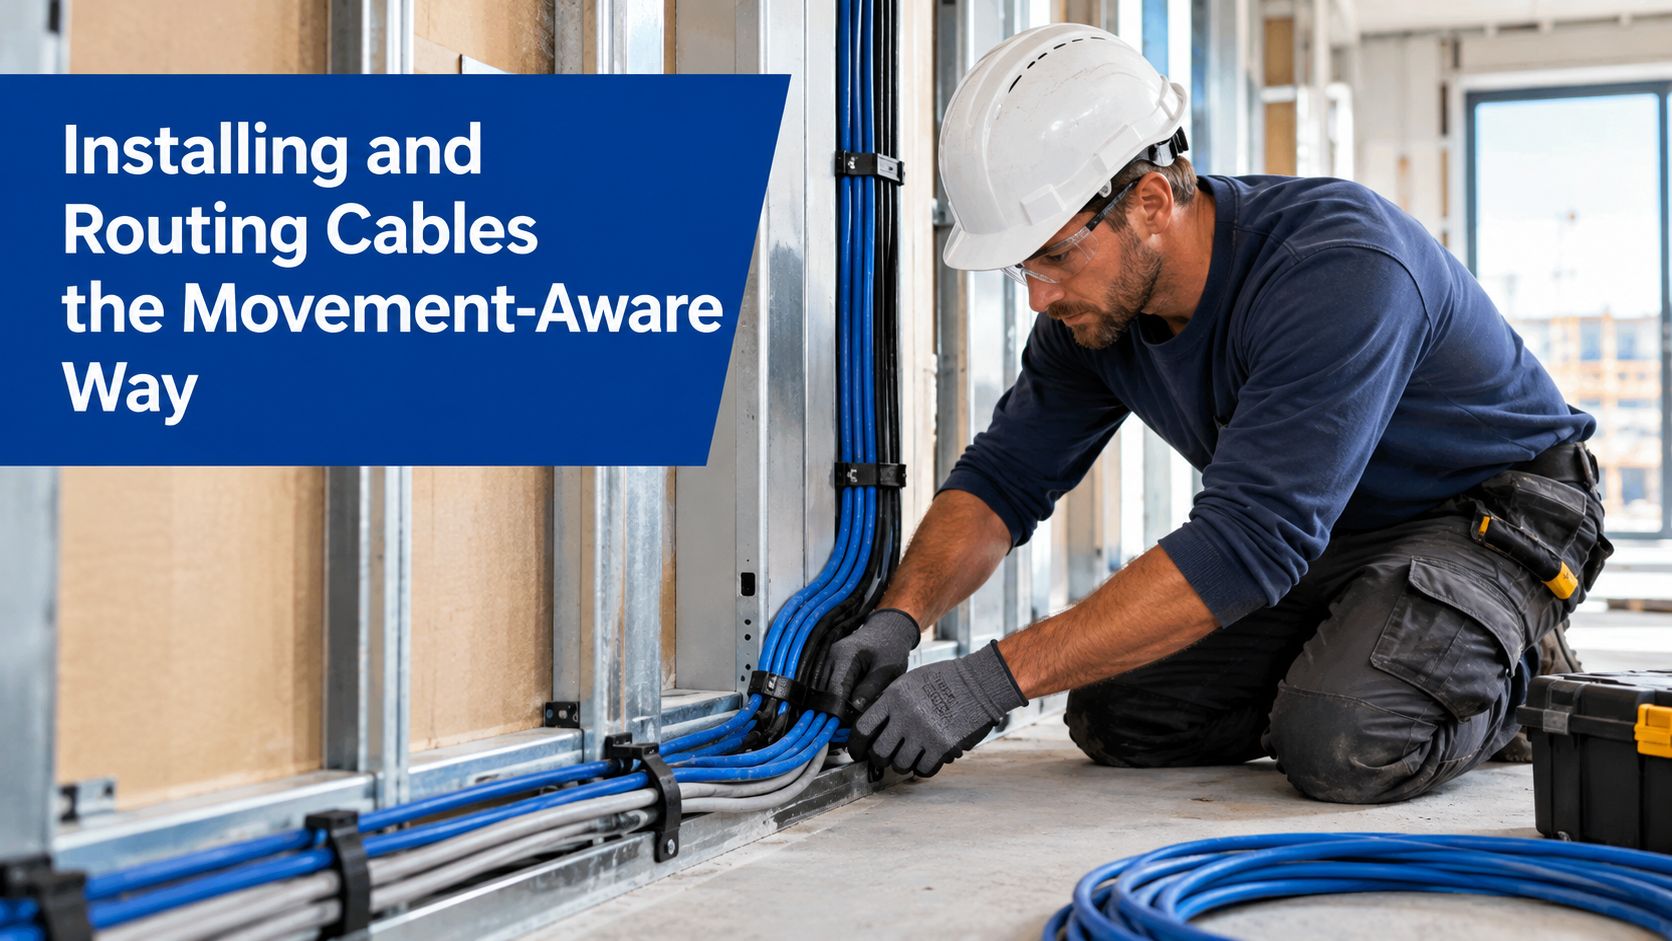
Installing and Routing Cables the Movement-Aware Way
Start with the desk empty enough to understand it. Power everything down, unplug every device, and photograph the existing connections. That photograph becomes your reference map when a cable disappears behind the PC or you can't remember which DisplayPort lead belongs to which monitor.
Build the route before tightening anything
Measure the cable path at the desk's lowest and highest positions. Add 15 cm of slack to the longest runs, as specified in the installation guidance, and make sure the loop hangs freely rather than catching on the lifting column.
Keep mains cables on one side and low-voltage data cables on the other. Maintain at least 5 cm of physical separation between those paths where possible to reduce interference on audio and USB 3.0 lines.
Route the heavy cables first
Mount the power strip inside the rear tray before threading display leads. Power cables and adapters have the greatest mass, so they should be supported rather than left hanging from wall sockets.
Then route the stiffest display cables. DisplayPort and HDMI leads often resist tight turns, and forcing them around a frame corner puts stress on the port. Keep the bend broad, secure the route loosely, and avoid letting the connector carry the cable's weight.
Use Velcro straps for cables you expect to replace. Zip ties are acceptable for a permanent section, but they make troubleshooting and upgrades unnecessarily destructive.
The cable organizer clips from DigiDevice fit the small-control part of the system, where individual cables need direction before they enter the main tray or sleeve.
Test the desk before finishing the loom
With the main routes in place, raise the desk to its highest position and lower it fully. Do this twice before reconnecting every peripheral. Watch the vertical sleeve, the power-strip connection, the PC-side cables, and any point where a lead approaches a telescoping column.
Look for four signs:
- Pulling: The cable straightens or lifts a connector.
- Pinching: The lead touches a moving frame section.
- Rubbing: The same spot contacts metal during travel.
- Hanging mass: A power brick or hub swings from its cable.
Only tighten the final straps after the full movement test passes. A clean stationary bundle isn't finished until it survives the desk's complete range.
Recommended Configurations for Clean Multi-Device Builds
The right configuration depends on how many device zones you have and whether the desk moves. A single-PC gaming setup needs a different cable architecture from a streaming station with a camera, lighting, capture card, and second computer.
Single PC and dual monitors
For a straight sit-stand desk, use a 70 cm-deep frame, two rear-corner grommets, a 60 cm under-desk tray, and one clamp-on power rail. This arrangement is designed around six power cables and four display or data lines, with the tray supporting the heavy components and the grommets keeping the desktop exits controlled.
Keep both monitor routes separate until they reach the tray. Combining them too early creates a thick bundle that becomes difficult to reposition when one display gets replaced.
Streaming on an L-shaped desk
An L-shaped configuration benefits from zone separation. Give the streaming wing its own tray beneath the camera and lighting area, then route capture-card and audio-interface leads independently from the main gaming PC bundle.
That separation prevents a change to the streaming equipment from disturbing the display path. It also makes it easier to identify whether a fault belongs to the primary PC, the capture chain, or the audio system.
Compact desks and dense layouts
A 120 cm desk has little spare routing space. Use one full-width tray and magnetic clips rather than filling the surface with unnecessary grommets. Keep the power strip and adapters under the desktop, and let only the keyboard, mouse, and display leads emerge through controlled openings.
Dual-PC and KVM users should look for two independent rear channels. A failover swap shouldn't require you to dismantle the entire cable loom.
The multi-device charging station selection from DigiDevice is relevant when phones, controllers, earbuds, and other mobile accessories share the same workstation.
Leave one empty grommet or tray slot. A battlestation rarely stays at its original device count.
A spare route also reduces the temptation to run a new cable directly across the rear edge. That quick shortcut usually becomes the next snag point.
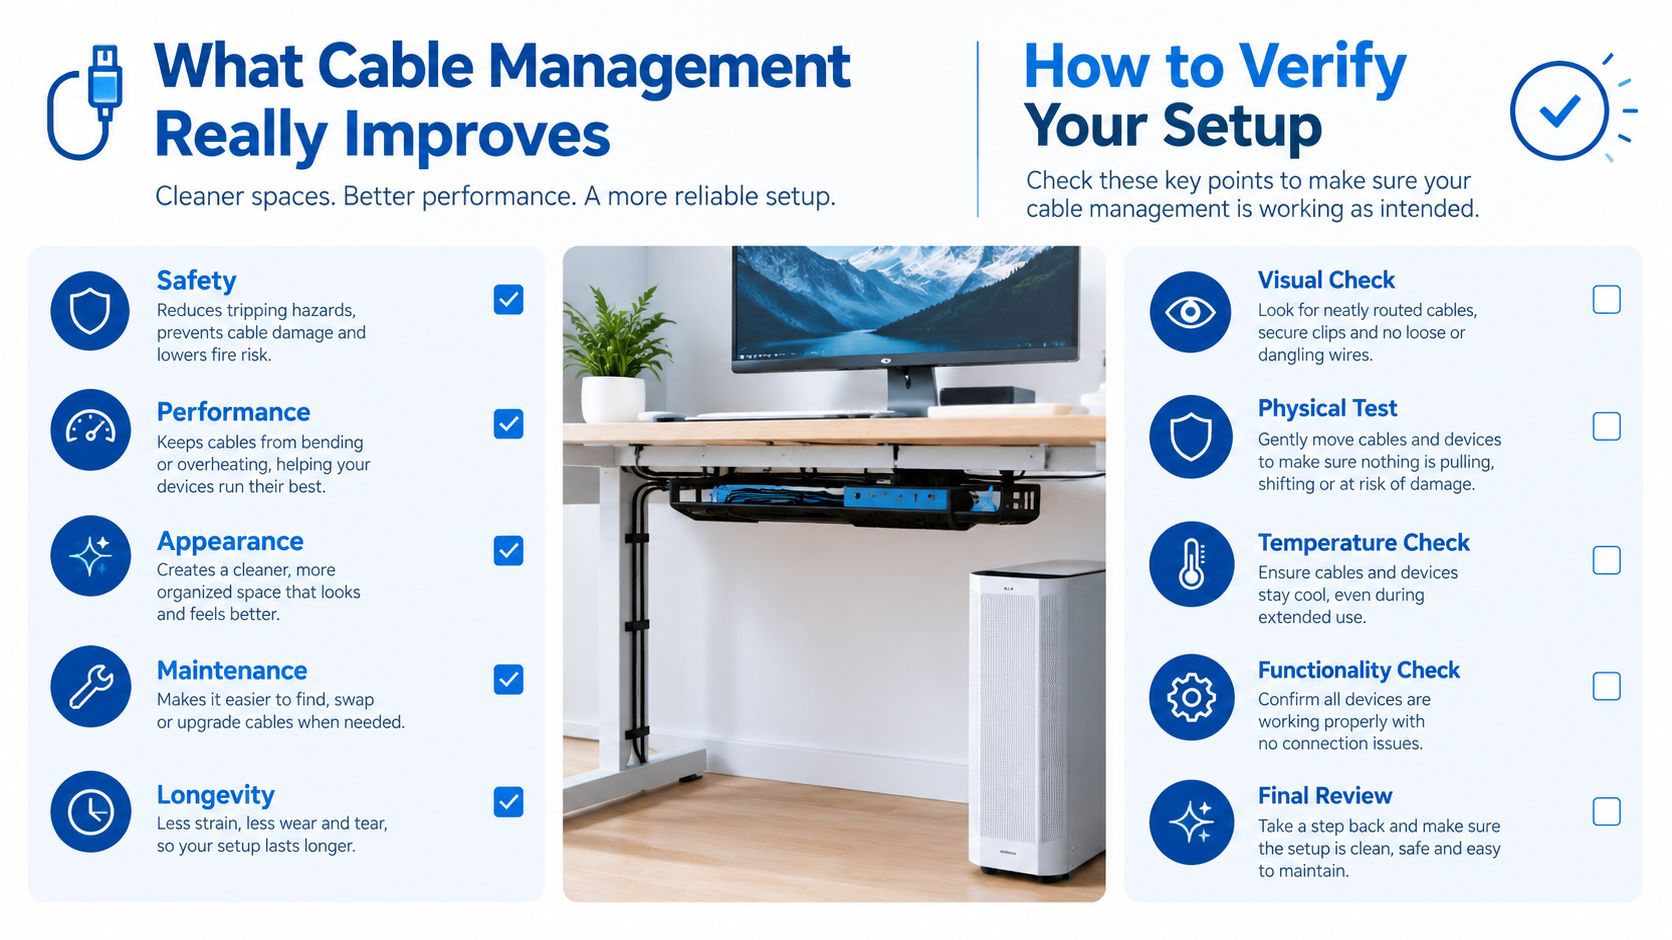
What Cable Management Really Improves and How to Verify Your Setup
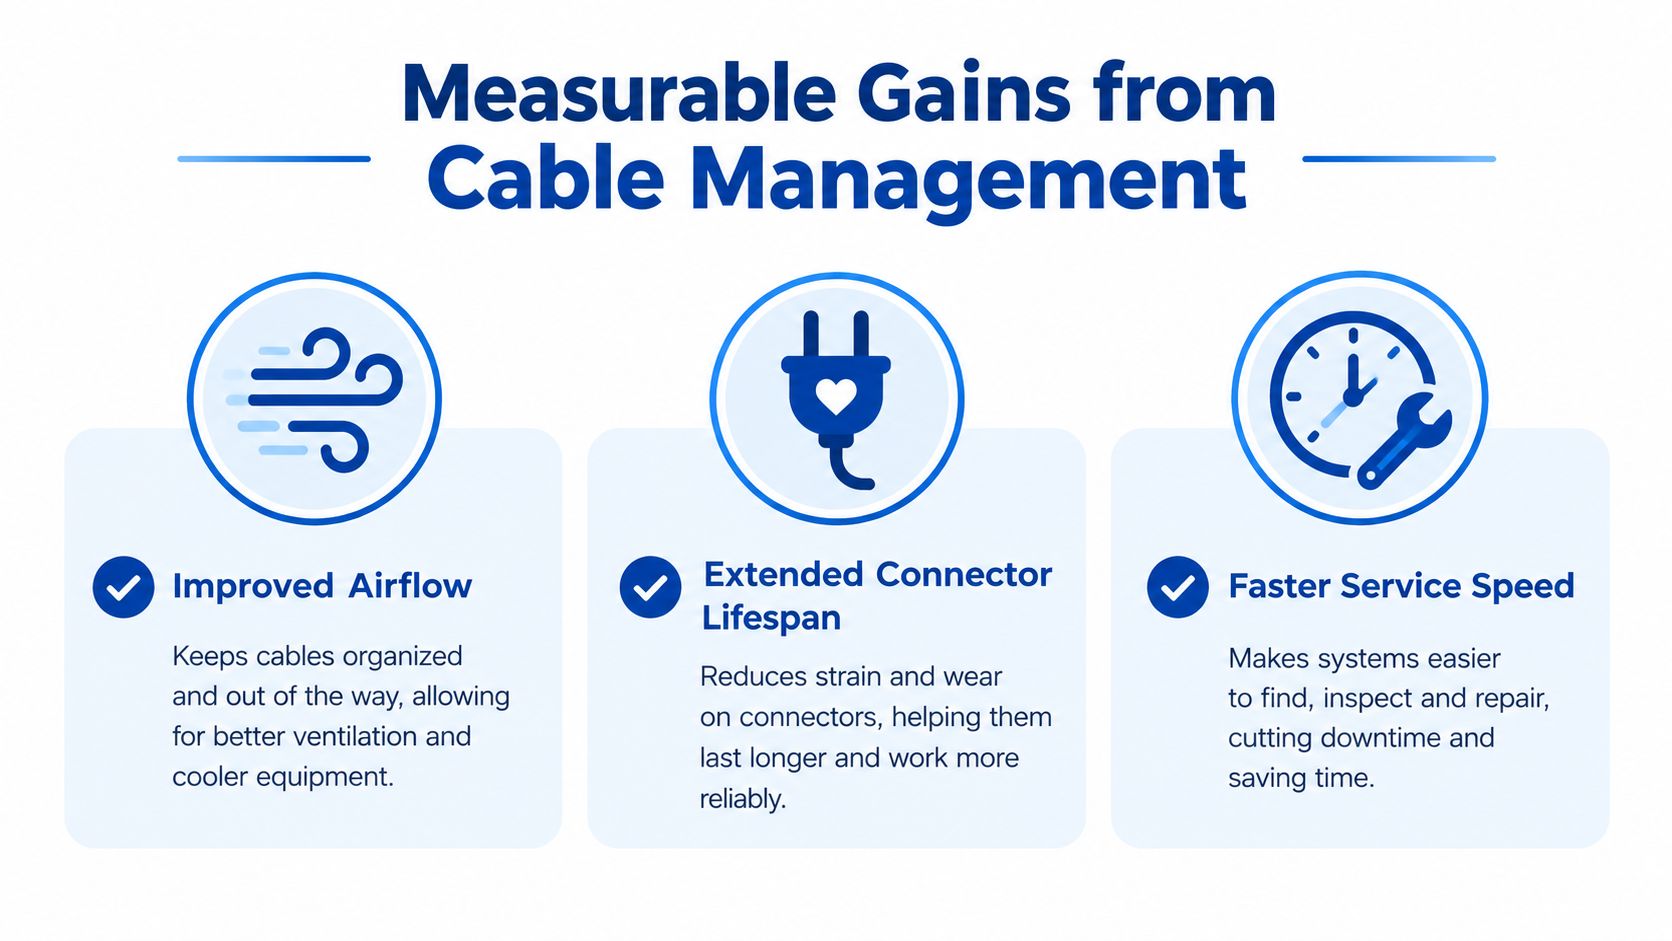
Cable management isn't only a visual upgrade. Proper routing can improve airflow around power bricks, reduce connector wear from repeated tugging, and make hardware maintenance easier, as explained in the independent gaming cable management masterclass.
Audit the mechanical side
Turn the PC on, then move the desk from sitting height to standing height. Watch the cable bundle rather than the desktop. A route that looks relaxed while empty may tighten once power bricks, hubs, and display leads are connected.
Inspect HDMI and DisplayPort connectors for sharp angles. Check whether the cable touches a metal edge, whether the PC-side connection lifts, and whether the vertical sleeve moves freely.
Check the thermal and service side
Compare intake temperatures before and after rerouting if you have a reliable way to monitor them. The point isn't to promise a universal temperature change. It's to identify whether a power brick, rear exhaust path, or PC intake has become crowded.
Then test service speed. Disconnect and reconnect a keyboard, capture card, or USB hub. If replacing one device requires removing the whole loom, the setup is tidy but not serviceable.
Review these points regularly:
- Movement: Does the desk complete its range without tension?
- Airflow: Are PC intakes, exhausts, and power bricks unobstructed?
- Connectors: Do display and USB plugs sit without sideways strain?
- Serviceability: Can one device be swapped without disturbing unrelated routes?
- Growth: Is there still a spare path for the next peripheral?
PAS is a useful copywriting structure for describing the problem clearly: Problem names the pain, Agitate intensifies its practical or emotional cost, and Solve presents the answer, as defined in this PAS framework reference. For cable management, the problem is a snagging, overloaded setup. The agitation is intermittent hardware behavior and frustrating maintenance. The solution is a desk and routing system designed around movement.
Treat cable routing as a recurring maintenance habit, not a one-time photo opportunity. A quick inspection after adding hardware can prevent a loose bundle from becoming a damaged connector or a difficult fault to trace.
DigiDevice offers gaming desks and practical PC accessories that fit into a movement-aware setup, including cable-routing and charging tools for multi-device workstations. Visit DigiDevice to compare relevant gear, then check the product details before you commit to a new cable layout.